官方提供两个版本
- 开源版
- 专业版
部署方式主要有两种
相关文章
- 安装脚本: Centos脚本安装Seafile私有云(开源版)
- 开源版-手动部署: Centos手动安装Seafile私有云(开源版)
- 开源版-手动部署 域名、SSL、Nginx反向代理: VPS-Centos手动安装Seafile私有云(开源版)
- 专业版-手动部署: VPS-Centos手动安装Seafile私有云(开源版)
- 专业版-手动部署 域名、SSL、Nginx反向代理: VPS-Centos手动安装Seafile私有云(专业版)
环境:
VPS
最小化安装Centos7 更新
确保域名正确解析:pan.augustdoit.info
安装Seafile服务器之前,请确认已安装以下软件
- MariaDB 或者 MySQL 服务器 (MariaDB 是 MySQL 的分支)
- python 2.7 (从 Seafile 5.1 开始,python 版本最低要求为2.7)
- python-setuptools
- python-imaging
- python-mysqldb
- python-ldap
- python-urllib3
- python-memcache (或者 python-memcached)
执行以下代码进行安装
yum -y install epel-release
rpm --import http://li.nux.ro/download/nux/RPM-GPG-KEY-nux.ro
yum -y install mariadb-server nginx
yum -y install python-imaging MySQL-python python-memcached python-ldap python-urllib3 ffmpeg ffmpeg-devel
若提示没有可用没有可用软件包ffmpeg ffmpeg-devel执行以下操作
rpm -Uvh http://li.nux.ro/download/nux/dextop/el7/x86_64/nux-dextop-release-0-1.el7.nux.noarch.rpm
yum install -y ffmpeg ffmpeg-devel
继续
pip install pillow moviepy
若提示-bash: pip: 未找到命令,执行以下操作
yum install -y python-pip
pip install --upgrade pip
pip install pillow moviepy
至此依赖安装结束,建议再次执行命令确认没有漏掉
yum -y install python-imaging MySQL-python python-memcached python-ldap python-urllib3 ffmpeg ffmpeg-devel
systemctl start mariadb.service
systemctl enable mariadb.service
mysql_secure_installation
按照提示配置
Enter current password for root (enter for none):回车  #初次运行直接回车
Set root password? [Y/n] 回车  #是否设置root用户密码
New password: ××××××  #设置root用户密码
Re-enter new password: ××××××  #再输入一次
Remove anonymous users? [Y/n] 回车  #是否删除匿名用户,生产环境建议删除,所以直接回车
Disallow root login remotely? [Y/n] 回车  #是否禁止root远程登录
Remove test database and access to it? [Y/n] 回车  #是否删除test数据库,直接回车
Reload privilege tables now? [Y/n] 回车  #是否重新加载权限表,直接回车
mkdir -p /var/www/haiwen
cd /var/www/haiwen
到官方下载页面下载最新服务器安装包
yum -y install wget
wget http://seafile-downloads.oss-cn-shanghai.aliyuncs.com/seafile-server_6.2.5_x86-64.tar.gz
tar -xzf seafile-server_*
mkdir installed
mv seafile-server_* installed
现在,你的目录看起来应该像这样:
yum -y install tree
tree /var/www/haiwen -L 2
输出目录结构
/var/www/haiwen
├── installed
│   └── seafile-server_1.8.2_x86-64.tar.gz
└── seafile-server-1.8.2
    ├── reset-admin.sh
    ├── runtime
    ├── seafile
    ├── seafile.sh
    ├── seahub
    ├── seahub.sh
    ├── setup-seafile.sh
    └── upgrade
这样设计目录的好处在于
- 和
seafile相关的配置文件都可以放在haiwen目录下,便于集中管理. - 后续升级时,你只需要解压最新的安装包到
haiwen目录下.
cd /var/www/haiwen/seafile-server-*
./setup-seafile-mysql.sh
如果提示
Can't find a python executable of version 2.7 or above in PATH
Install python 2.7+ before continue.
Or if you installed it in a non-standard PATH, set the PYTHON enviroment varirable to it
执行以下代码
yum install -y which
./setup-seafile-mysql.sh
安装过程会引导配置Seafile的各项参数
[ server name ]  vps1
#服务器名称,随意设置

[ This server's ip or domain ]  107.172.*.*
#域名或ip 填写你vps的ip

[ default "/var/www/haiwen/seafile-data" ]  回车
#设置数据存放目录,默认就好

[ default "8082" ]  回车
#tcp端口,默认8082不能改

Please choose a way to initialize seafile databases:
[1] Create new ccnet/seafile/seahub databases
[2] Use existing ccnet/seafile/seahub databases
[ 1 or 2 ]  1
#选择创建数据库方式,1现在创建,2使用之前创建过的

What is the host of mysql server?
[ default "localhost" ]  回车
#数据库主机,默认就好

What is the port of mysql server?
[ default "3306" ]  回车
#数据库端口,默认就好

what is the password of the mysql root user?
[ root password ]  ××××××
#数据库root用户的密码

Enter the name for mysql user of seafile. It would be created if not exists.
[ default "seafile" ]  回车
#为数据库seafile创建用户,填写用户名,默认为seafile

Enter the password for mysql user "seafile":
[ password for seafile ]  ××××××
#为数据库用户seafile设置密码,随意设置,记住就好

Enter the database name for ccnet-server:
[ default "ccnet-db" ]  回车
#设置ccnet-server数据库名称,默认默认就好

Enter the database name for seafile-server:
[ default "seafile-db" ]  回车
#设置seafile-server数据库名称,默认就好

Enter the database name for seahub:
[ default "seahub-db" ]  回车
#设置seahub数据库名称,默认就好

---------------------------------
This is your configuration
---------------------------------

server name:            vps1
server ip/domain:       107.172.*.*

seafile data dir:       /var/www/haiwen/seafile-data
fileserver port:        8082

database:               create new
ccnet database:         ccnet-db
seafile database:       seafile-db
seahub database:        seahub-db
database user:          seafile

#输出设置详情,回车继续安装,直至结束
./seafile.sh start
./seahub.sh start
在执行seahub.sh过程中,会被要求设置seafile管理员帐号(邮箱注册)、密码。
What is the email for the admin account?
[ admin email ] [email protected]
#输入管理员邮箱

What is the password for the admin account?
[ admin password ] ××××××
#管理员密码
Enter the password again:
[ admin password again ] ××××××
#再次输入密码
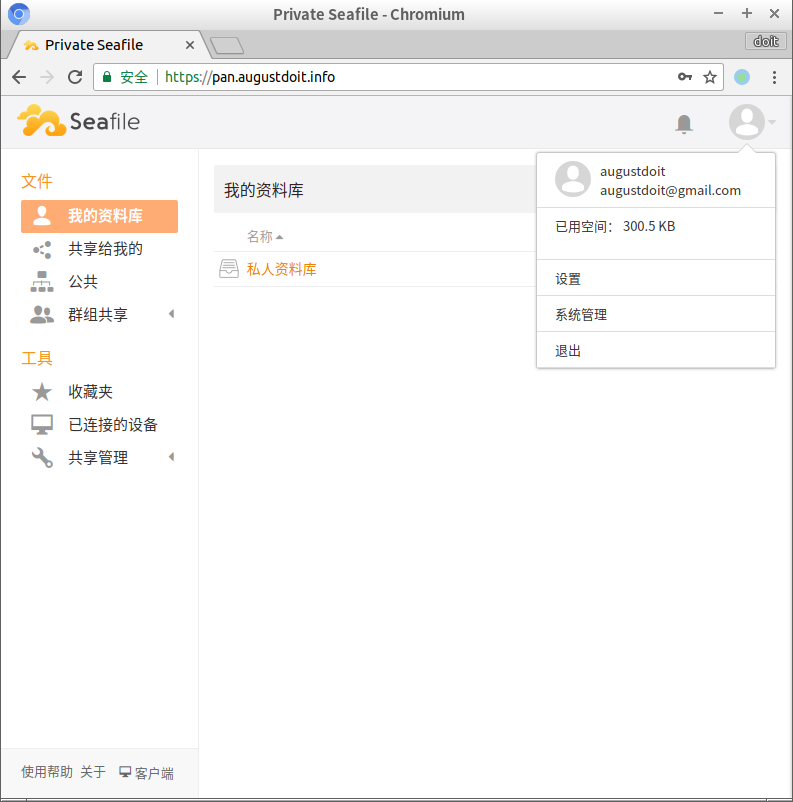
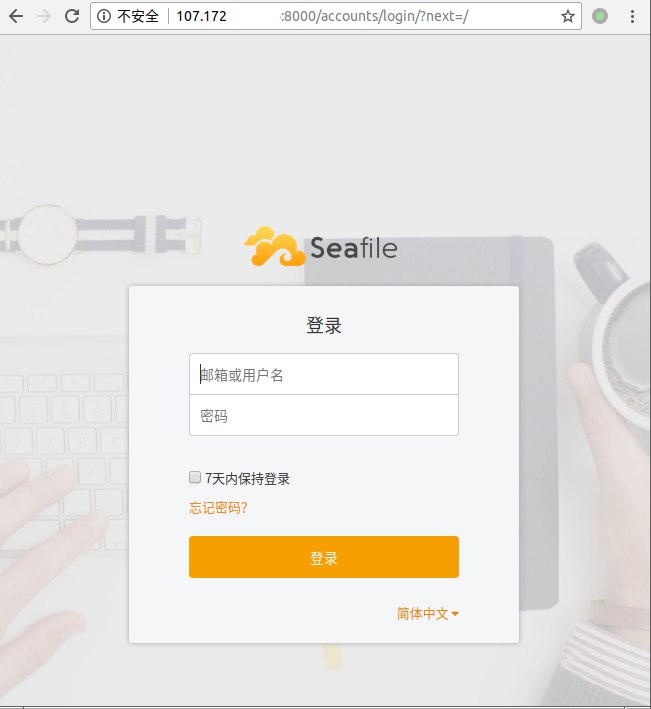
完成后,可以在浏览器打开服务器地址107.172.*.*:8000,进行测试。
如果测试不成功那是因为防火墙没打开相应端口,没有关系,由于下面还要配置SSL,所以防火墙我是在最后配置的。
如果你非要现在打开
firewall-cmd --zone=public --add-port=8000/tcp --permanent
firewall-cmd --zone=public --add-port=8082/tcp --permanent
firewall-cmd --reload
需要先停止seafile及seahub
./seafile.sh stop
./seahub.sh stop
cd /var/www/
chown -R nginx:nginx *
chown -R nginx:nginx /tmp/seahub_cache
vi /etc/systemd/system/seafile.service
内容如下
[Unit]
Description=Seafile
# add mysql.service or postgresql.service depending on your database to the line below
Before=seahub.service
After=network.target mariadb.service

[Service]
Type=oneshot
# 注意目录地址
ExecStart=/var/www/haiwen/seafile-server-latest/seafile.sh start
ExecStop=/var/www/haiwen/seafile-server-latest/seafile.sh stop
RemainAfterExit=yes
# 注意用户和组
User=nginx
Group=nginx

[Install]
WantedBy=multi-user.target
vi /etc/systemd/system/seahub.service
内容如下
[Unit]
Description=Seafile hub
After=network.target seafile.service mariadb.service

[Service]
# 注意目录及start-fastcgi
ExecStart=/var/www/haiwen/seafile-server-latest/seahub.sh start-fastcgi
ExecStop=/var/www/haiwen/seafile-server-latest/seahub.sh stop
User=nginx
Group=nginx
Type=oneshot
RemainAfterExit=yes

[Install]
WantedBy=multi-user.target
保存退出
systemctl daemon-reload
systemctl start seafile
systemctl enable seafile
systemctl start seahub
systemctl enable seahub
如果有直接拿来用就好,如果没有可用以下方法申请
设置
web-root目录,创建seafile-nginx配置文件
vi /etc/nginx/conf.d/seafile.conf
粘贴如下字段,注意域名及目录地址
server {
    listen      80;
    server_name pan.augustdoit.info;

    location '/.well-known/acme-challenge' {
        default_type "text/plain";
        root /var/www/haiwen;
    }
}
安装cerbot获取证书
yum install epel-release
yum install certbot
nginx -s reload
certbot certonly --webroot -w /var/www/haiwen/ -d pan.augustdoit.info
输出
IMPORTANT NOTES:
 - Congratulations! Your certificate and chain have been saved at:
   /etc/letsencrypt/live/pan.augustdoit.info/fullchain.pem
   Your key file has been saved at:
   /etc/letsencrypt/live/pan.augustdoit.info/privkey.pem
   Your cert will expire on 2018-05-02. To obtain a new or tweaked
   version of this certificate in the future, simply run certbot
   again. To non-interactively renew *all* of your certificates, run
   "certbot renew"
 - If you like Certbot, please consider supporting our work by:

   Donating to ISRG / Let's Encrypt:   https://letsencrypt.org/donate
   Donating to EFF:                    https://eff.org/donate-le
会生成证书文件
ls /etc/letsencrypt/live/pan.augustdoit.info/
cert.pem  chain.pem  fullchain.pem  privkey.pem  README
vi /etc/nginx/conf.d/seafile.conf
粘贴配置文件如下:
注意域名,SSL证书目录,/media的替换
server {
    listen       80;
    server_name  pan.augustdoit.info;
    rewrite ^ https://$http_host$request_uri? permanent;    #强制将http重定向到https
    server_tokens off;
}
server {
    listen 443;
    ssl on;
    ssl_certificate /etc/letsencrypt/live/pan.augustdoit.info/fullchain.pem;
    ssl_certificate_key /etc/letsencrypt/live/pan.augustdoit.info/privkey.pem;
    server_name pan.augustdoit.info;
    ssl_session_timeout 5m;
    ssl_session_cache shared:SSL:5m;
    ssl_protocols TLSv1 TLSv1.1 TLSv1.2;
    ssl_ciphers 'ECDHE-ECDSA-AES256-GCM-SHA384:ECDHE-ECDSA-AES128-GCM-SHA256:ECDHE-RSA-AES256-GCM-SHA384:ECDHE-RSA-AES128-GCM-SHA256:ECDHE-ECDSA-AES256-SHA384:ECDHE-ECDSA-AES128-SHA256:ECDHE-RSA-AES256-SHA384:ECDHE-RSA-AES128-SHA256:ECDHE-RSA-AES256-SHA:ECDHE-ECDSA-AES256-SHA:ECDHE-RSA-AES128-SHA:ECDHE-ECDSA-AES128-SHA:DHE-RSA-AES256-GCM-SHA384:DHE-RSA-AES256-SHA256:DHE-RSA-AES256-SHA:DHE-RSA-CAMELLIA256-SHA:DHE-RSA-AES128-GCM-SHA256:DHE-RSA-AES128-SHA256:DHE-RSA-AES128-SHA:DHE-RSA-SEED-SHA:DHE-RSA-CAMELLIA128-SHA:HIGH:!aNULL:!eNULL:!LOW:!3DES:!MD5:!EXP:!PSK:!SRP:!DSS';
    ssl_prefer_server_ciphers on;

    proxy_set_header X-Forwarded-For $remote_addr;

    add_header Strict-Transport-Security "max-age=31536000; includeSubDomains";
    server_tokens off;

    location / {
        fastcgi_pass    127.0.0.1:8000;
        fastcgi_param   SCRIPT_FILENAME     $document_root$fastcgi_script_name;
        fastcgi_param   PATH_INFO           $fastcgi_script_name;

        fastcgi_param   SERVER_PROTOCOL     $server_protocol;
        fastcgi_param   QUERY_STRING        $query_string;
        fastcgi_param   REQUEST_METHOD      $request_method;
        fastcgi_param   CONTENT_TYPE        $content_type;
        fastcgi_param   CONTENT_LENGTH      $content_length;
        fastcgi_param   SERVER_ADDR         $server_addr;
        fastcgi_param   SERVER_PORT         $server_port;
        fastcgi_param   SERVER_NAME         $server_name;
        fastcgi_param   REMOTE_ADDR         $remote_addr;
        fastcgi_read_timeout 36000;

        client_max_body_size 0;

        access_log      /var/log/nginx/seahub.access.log;
        error_log       /var/log/nginx/seahub.error.log;
    }

    location /seafhttp {
        rewrite ^/seafhttp(.*)$ $1 break;
        proxy_pass http://127.0.0.1:8082;
        client_max_body_size 0;
        proxy_connect_timeout  36000s;
        proxy_read_timeout  36000s;
        proxy_send_timeout  36000s;
        send_timeout  36000s;
        proxy_request_buffering off;
    }
    location /media {
        root /var/www/haiwen/seafile-server-latest/seahub;
    }
    location '/.well-known/acme-challenge' {
    default_type "text/plain";
    root /var/www/haiwen;
    }
}
测试Nginx配置
nginx -t
启动Nginx
systemctl start nginx
配置域名
vi /var/www/haiwen/conf/ccnet.conf
#修改如下字段
SERVICE_URL = https://pan.augustdoit.info

vi /var/www/haiwen/conf/seahub_settings.py
#增加如下字段
FILE_SERVER_ROOT = 'https://pan.augustdoit.info/seafhttp'
保存并退出
重启服务并添加开机启动
systemctl restart seafile
systemctl restart seahub

systemctl enable nginx
systemctl enable mariadb
systemctl enable seafile
systemctl enable seahub
添加计划任务
crontab -e
添加字段
0 3 1 * * /bin/certbot renew --quiet --post-hook "nginx -s reload"
#每月1日3时30分续期
我用的vps默认不装firewalld,所以上文也没有提到打开端口的事。
yum -y install firewalld
systemctl start firewalld
systemctl enable firewalld
添加http https端口
firewall-cmd --zone=public --add-port=80/tcp --permanent
firewall-cmd --zone=public --add-port=443/tcp --permanent
多说一句,如果你改了ssh的默认端口,别忘了添加
firewall-cmd --reload
#检查一下
firewall-cmd --permanent --list-port
输出
80/tcp 443/tcp